")
When I first bought this kit sometime in February, I was initially thinking of building a diorama to go along with either my M1 Abrams or M2 Bradley AFV. After taking one look at the contents, I gave up that thought right away.
Apart from about two kits I built when I was a kid, I have almost no experience in building infantry kits and this kit looked much harder to build than the other two I did as all the limbs, hands, feet and heads were in separate parts and the upper torso with body armor is made of silicon/rubber. I had no idea at first how or even if I could build this kit and had it stashed away.
Wanting to try something different, I finally took it out and gave it a go and here's the building process :

I used a pin vise to drill 0.5mm holes into all the limbs and after using CA glue to fix 0.5mm steel rods into the parts, I fitted them together. Thinner rods would be great but that's all I had at the moment. I'm not sure if this is the normal procedure for building figures but it seemed the only logical thing to do. Without the rods, I'm sure the limbs would just break off with easily with little pressure.

Some of the figures are almost complete.
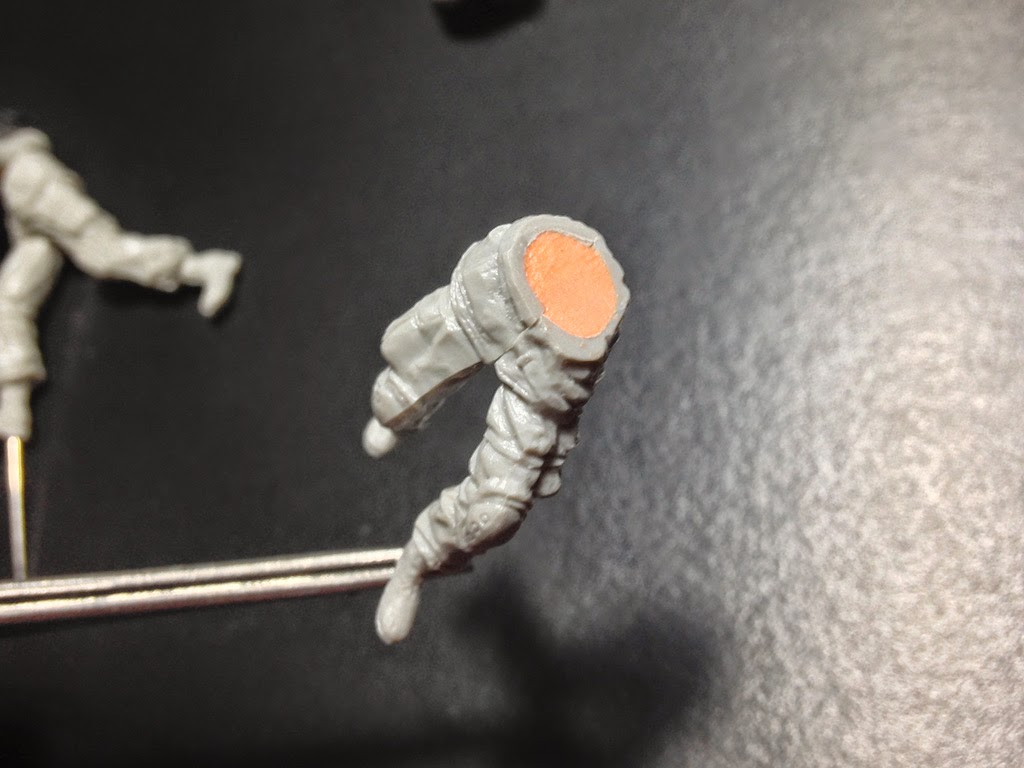
The upper and lower torsos are hollow inside and I had to fill them up with putty.

Drilled holes in the upper as well as lower torsos to insert rods.

Faces painted. These guys look rather old... and they're supposed to be in their early twenties. hmm...

Body armor painted in Woodland Camo and BDUs painted in 3 Color Desert Camo. One of hardest things about building these figures was positioning the arms and hands so that they could hold their weapons in a natural way.

I decided to build a small vignette(diorama) for the figures to perhaps display in my office. I used a display base I had bought months ago for another project but as the top part is 6cm x 6cm in dimension, it had enough space for only two or three figures.
I built the uneven surface with putty including the rock and sprinkled some garden soil after applying white glue.

The base has been primed and the rock painted. I painted the rock with Mr.Color 331 (dark sea gray) and dry brushed it with white enamel paint. The dried grass fixed into place with CA glue are actually fibers cut from a huge paint brush I have for cleaning pieces of plastic off my work space.

The vignette base has been painted with an assortment of brownish, reddish colors and later weathered.
Here are photos of the finished figures and vignette. I ended up using only two figures which were the grenadier and SAW gunner. I have to apologize for the quality of the photos. All photos of my works are taken with my iPhone 5 and although the overall quality of the photos are normally pretty good, it is clear that the resolution drops significantly when zoomed in. Afterall, it's only a cellphone... ;)


No comments:
Post a Comment